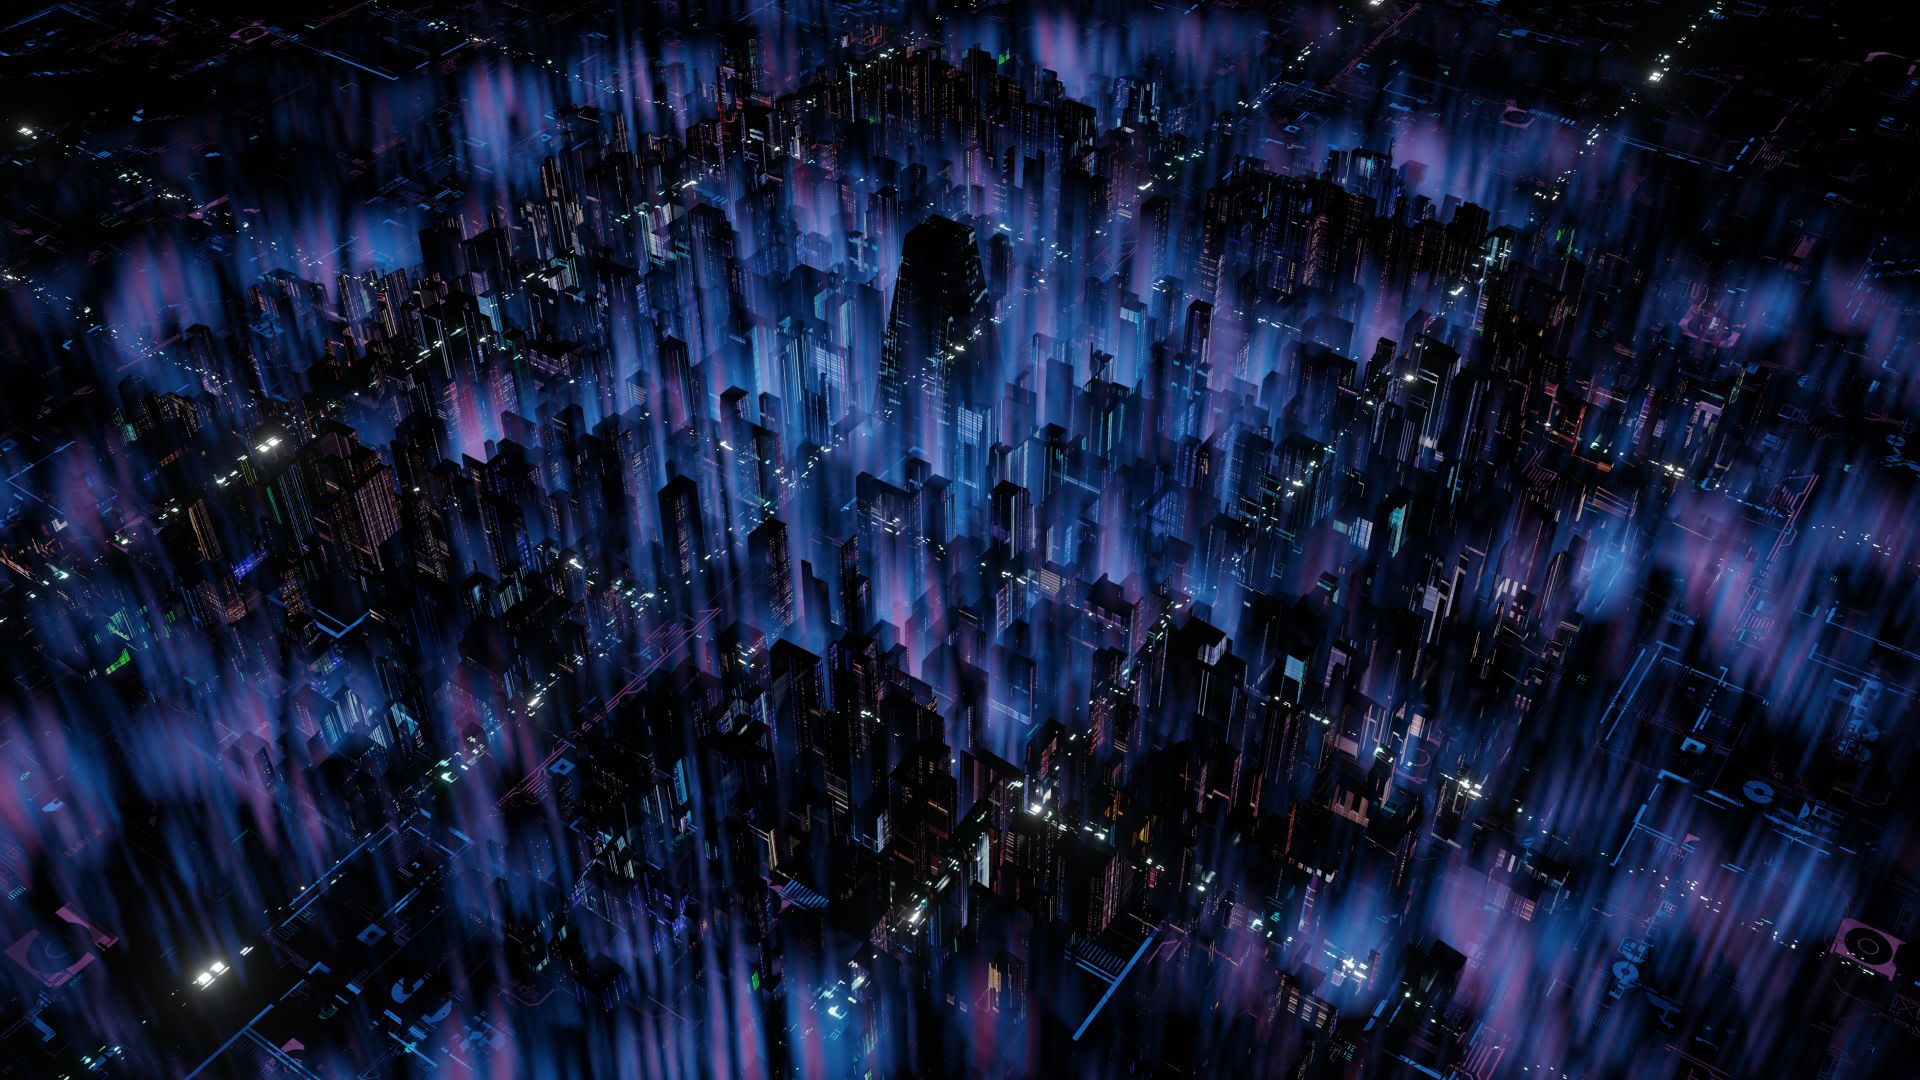
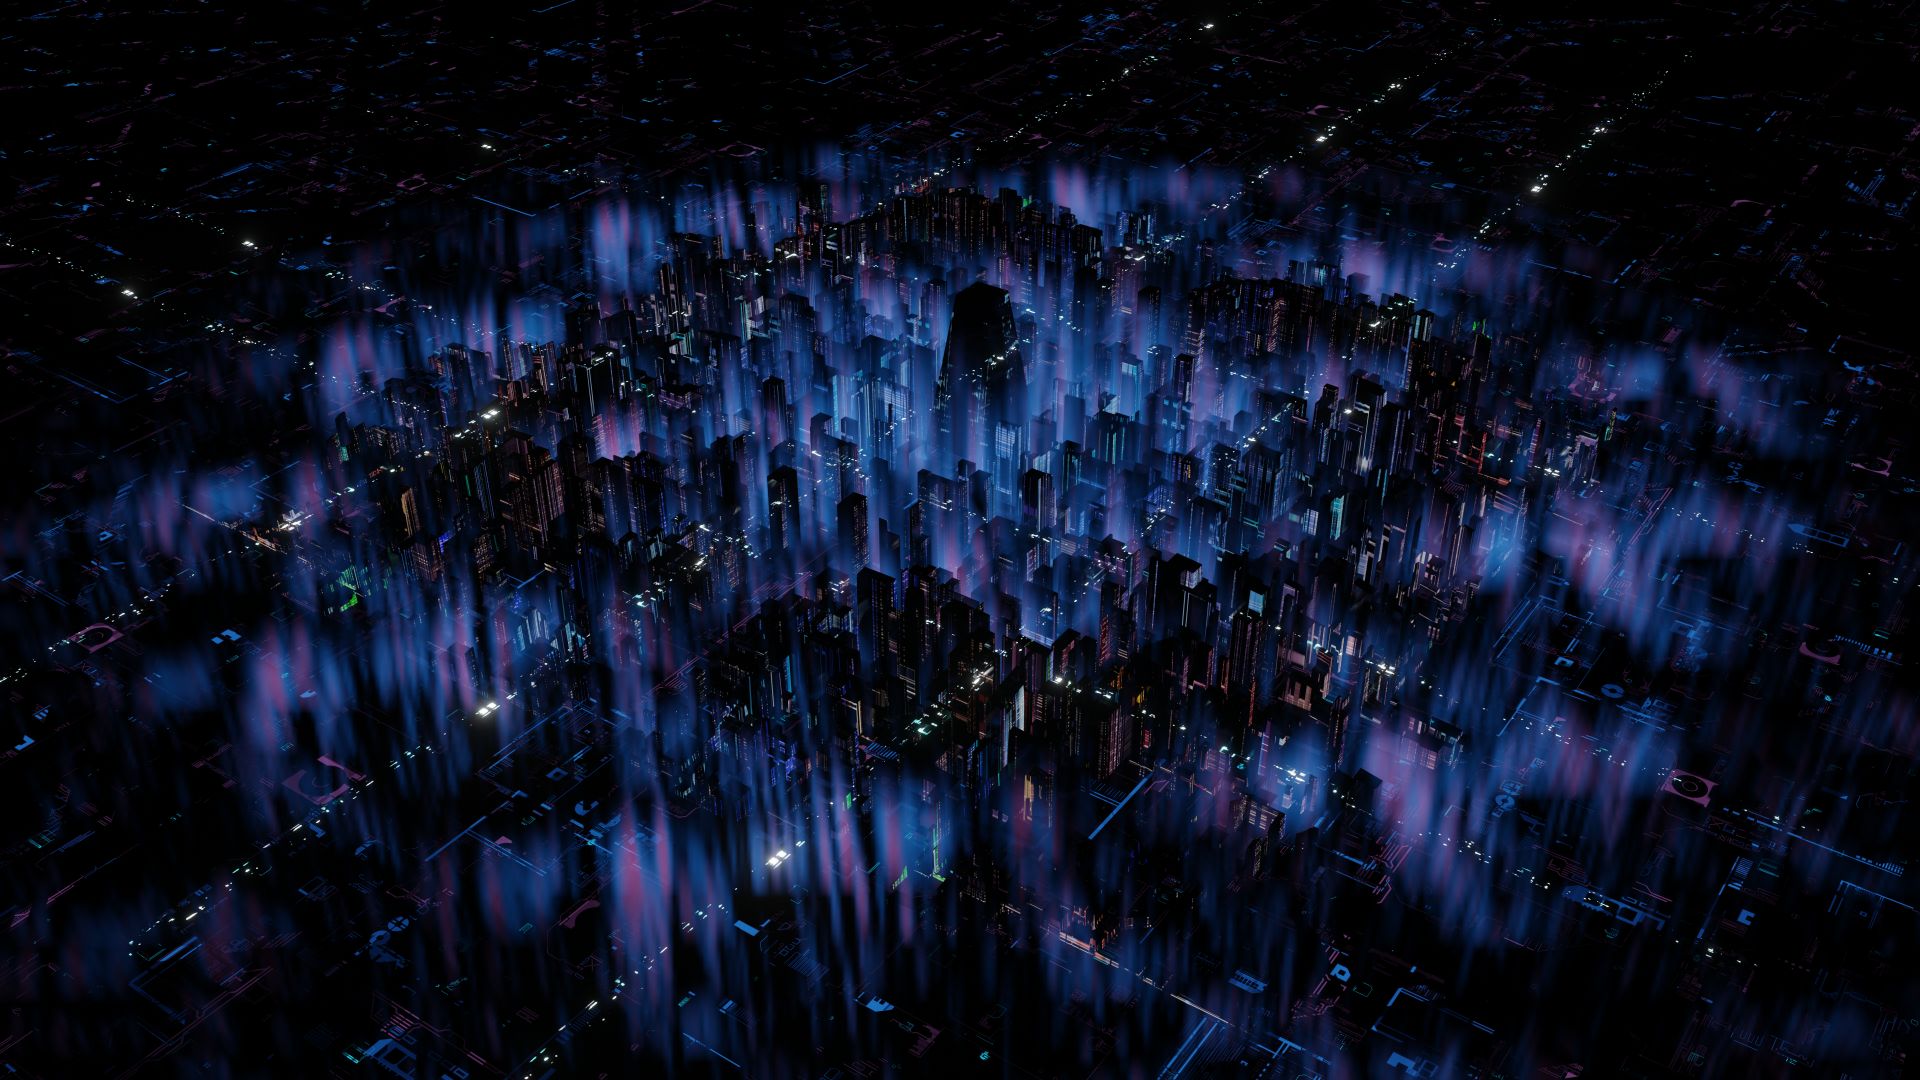
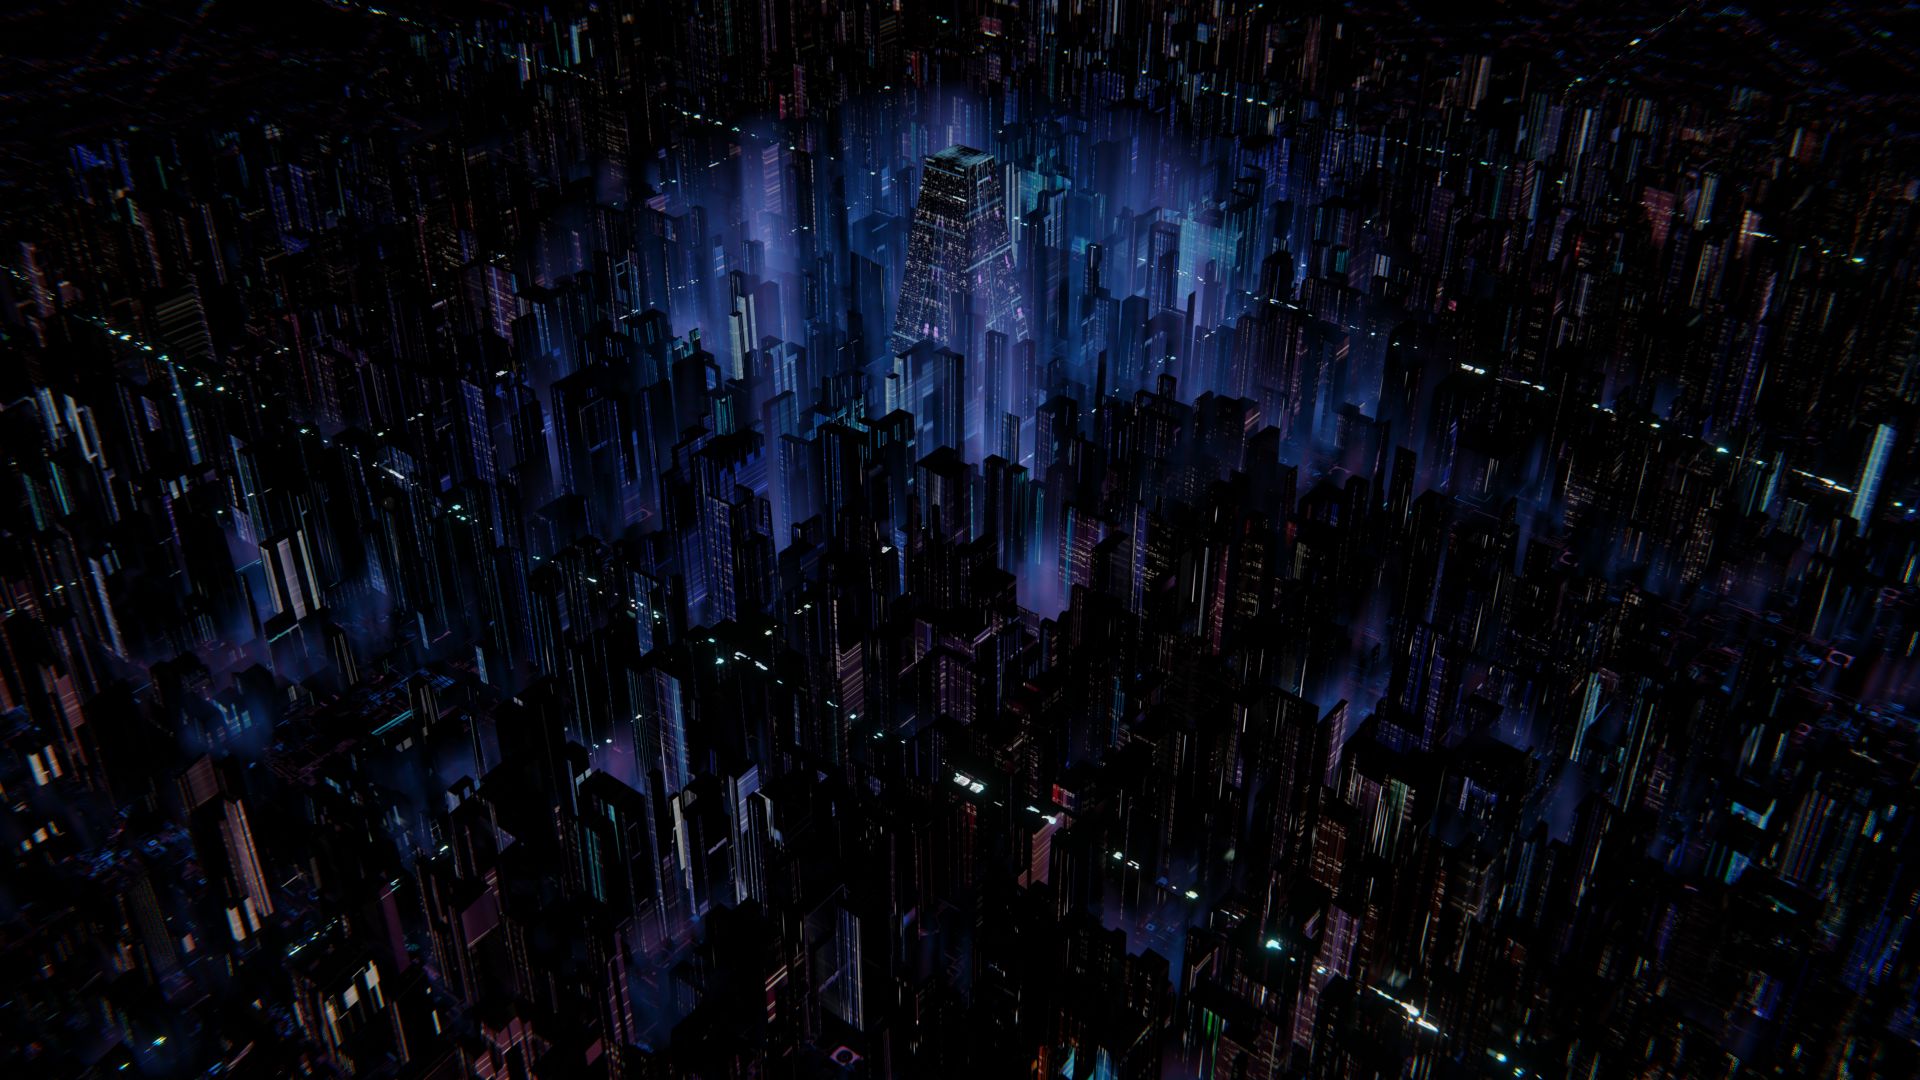
The journey of a thousand miles begins with a single step—or in this case, a single vertex. A week ago, I embarked on a challenge to build a sci-fi city using Blender 3.6. With the constraints of time and the complexities of the Eevee render engine and displacement modifiers, the challenge seemed daunting. Yet, the results have been nothing short of spectacular.
The Challenge
The rules were simple yet demanding:
Time limit: One week
Software: Blender 3.6
Modifiers: Displacement for realistic textures and elevations
Render Engine: Eevee for real-time rendering
The Approach
With just one week on the clock, meticulous planning was essential. I opted for a modular approach, creating basic building blocks like skyscrapers, roads, and flying vehicles that could be replicated and customized throughout the city.
The Result
The end result is a sprawling metropolis with towering skyscrapers, intricate roadways, and dynamic lighting that brings the city to life. Here’s a breakdown of some of the key areas.

Skyline
The skyline serves as the backbone of the city. Using displacement modifiers, I was able to create varying elevations that add a layer of complexity and realism to the cityscape.

Central Hub
The central hub is the heart of the city, featuring a grand plaza surrounded by futuristic structures. The Eevee render engine came in particularly handy here, allowing for real-time previews as I adjusted lighting and textures.

Transportation
No sci-fi city is complete without a network of flying vehicles. These were modeled separately and then imported into the main city file. The dynamic lighting from Eevee gives them a sense of motion and vitality.
The one-week time limit was indeed a constraint, but it also served as a driving force, pushing me to make creative decisions quickly and efficiently. The experience has been enlightening, to say the least, and the tools provided by Blender 3.6, including the displacement modifiers and the Eevee render engine, proved to be invaluable.


