📅 Challenge Start: 21:30
🏁 Finish Time: 23:00
🕒 Total Time: 1 hour 30 minutes
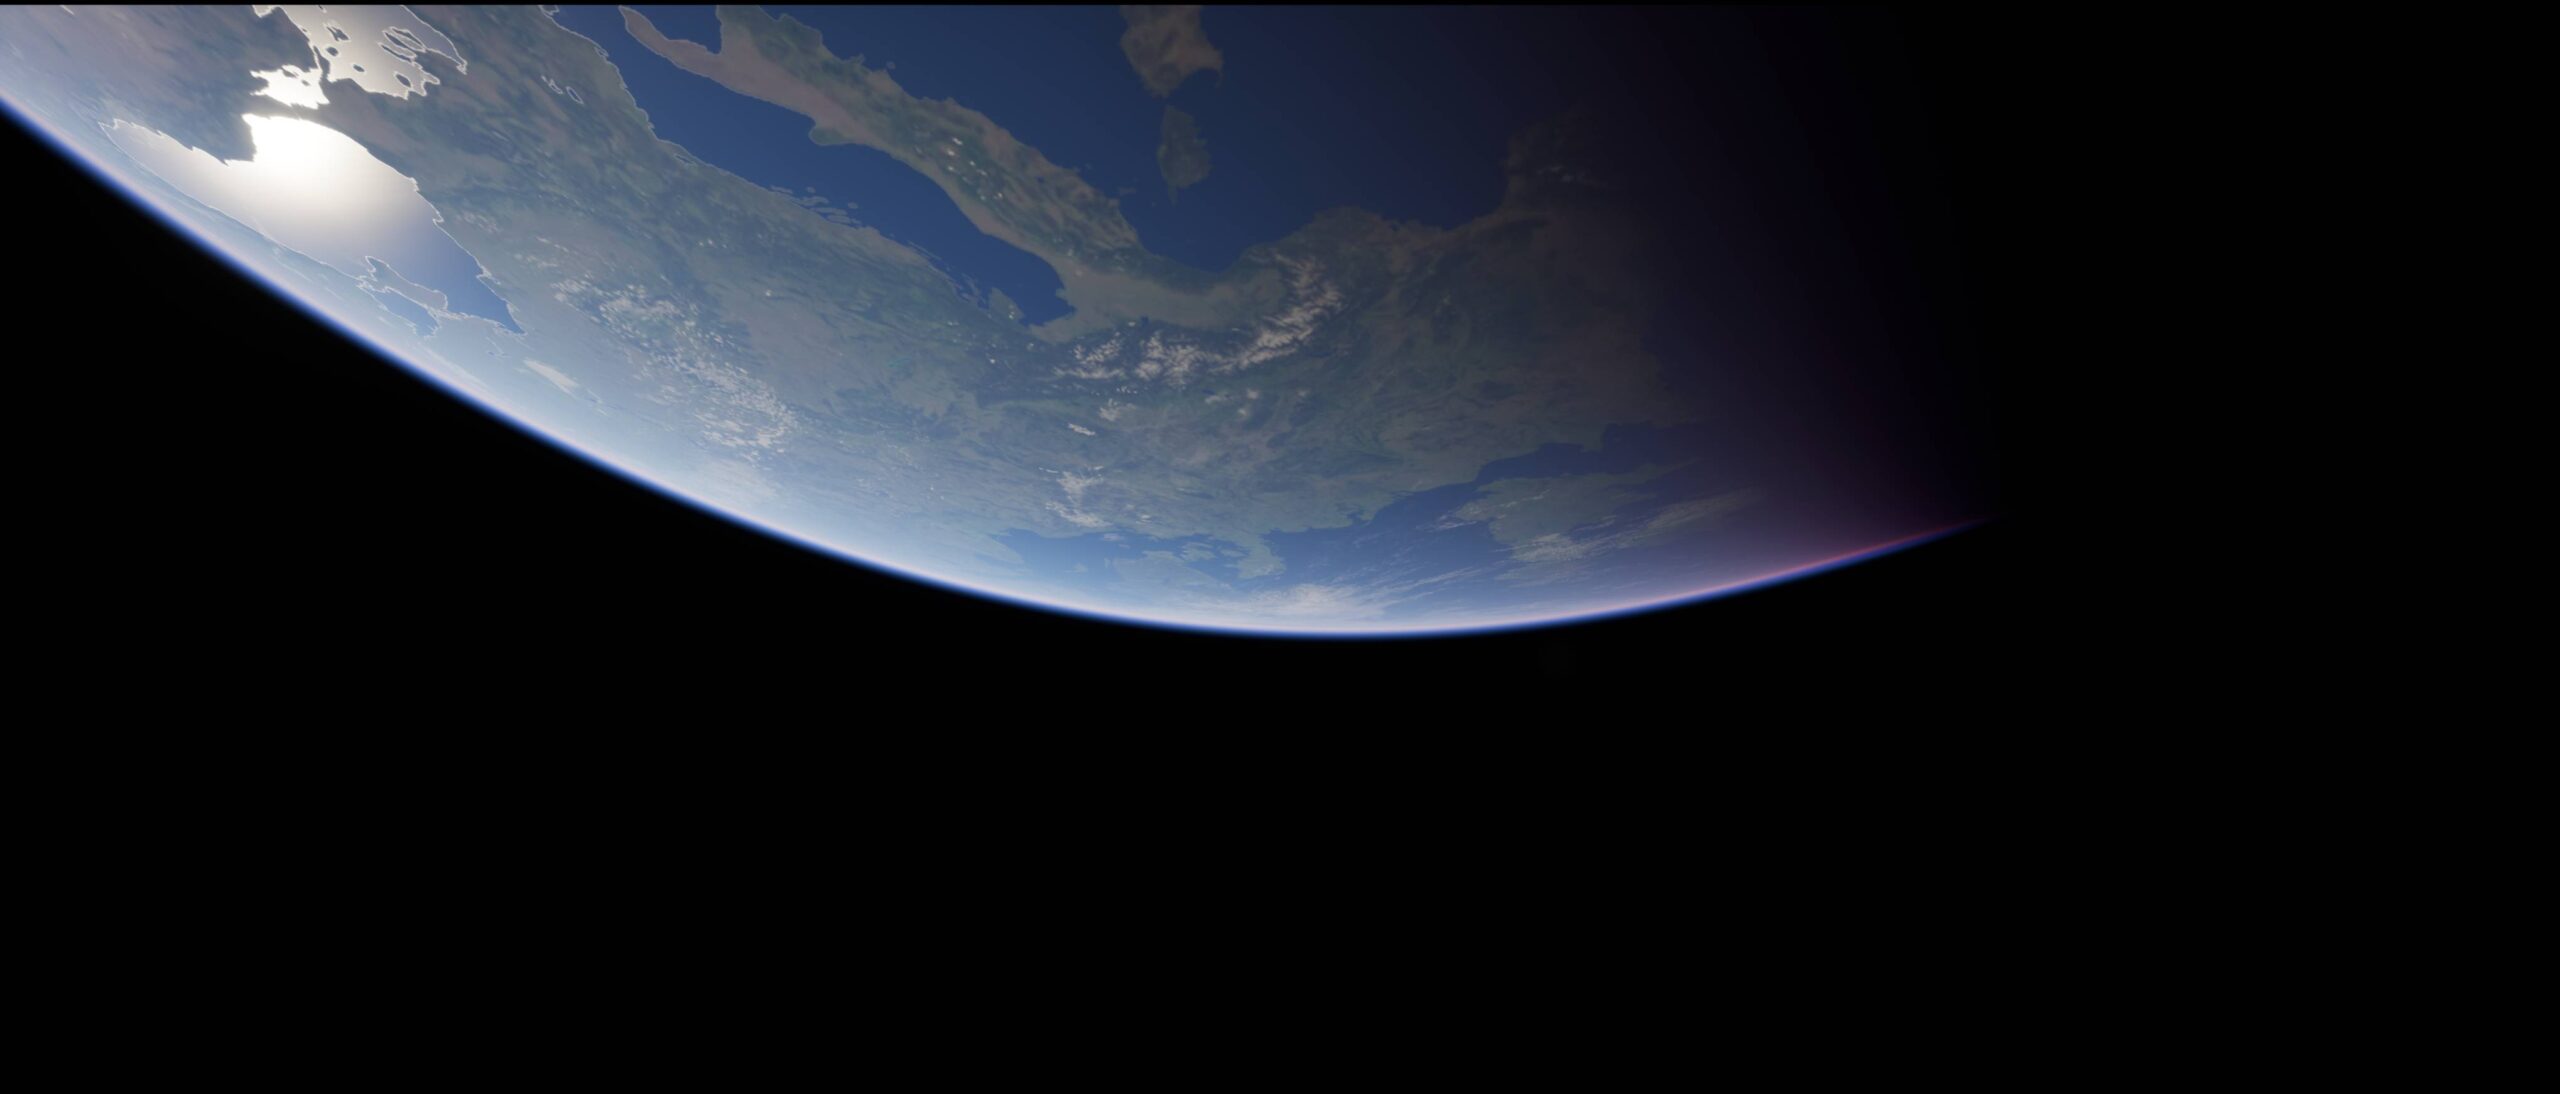
Creating real-time VFX is always an exciting challenge, especially when working within a strict time limit. For this FX Challenge, I set out to design a Lightspeed effect in Unreal Engine 5.5.3 using Niagara—an essential tool for real-time particle effects. The goal? To create a visually compelling, high-speed warp effect reminiscent of classic sci-fi hyperspace sequences.
Phase 1: Planning the Effect (21:30 – 21:40)
Before diving into Unreal Engine, I quickly outlined the key elements of the effect:
✔ A cylindrical warp tunnel – Using a Niagara emitter with a Cylinder Location shape.
✔ Streaking light particles – Adjusting velocity and scaling to create the illusion of speed.
✔ A glowing center – Simulating the warp destination with intense emissive materials.
✔ Dynamic movement – Ensuring the effect reacts correctly to camera movement.
With a rough vision in place, it was time to jump into Unreal Engine.
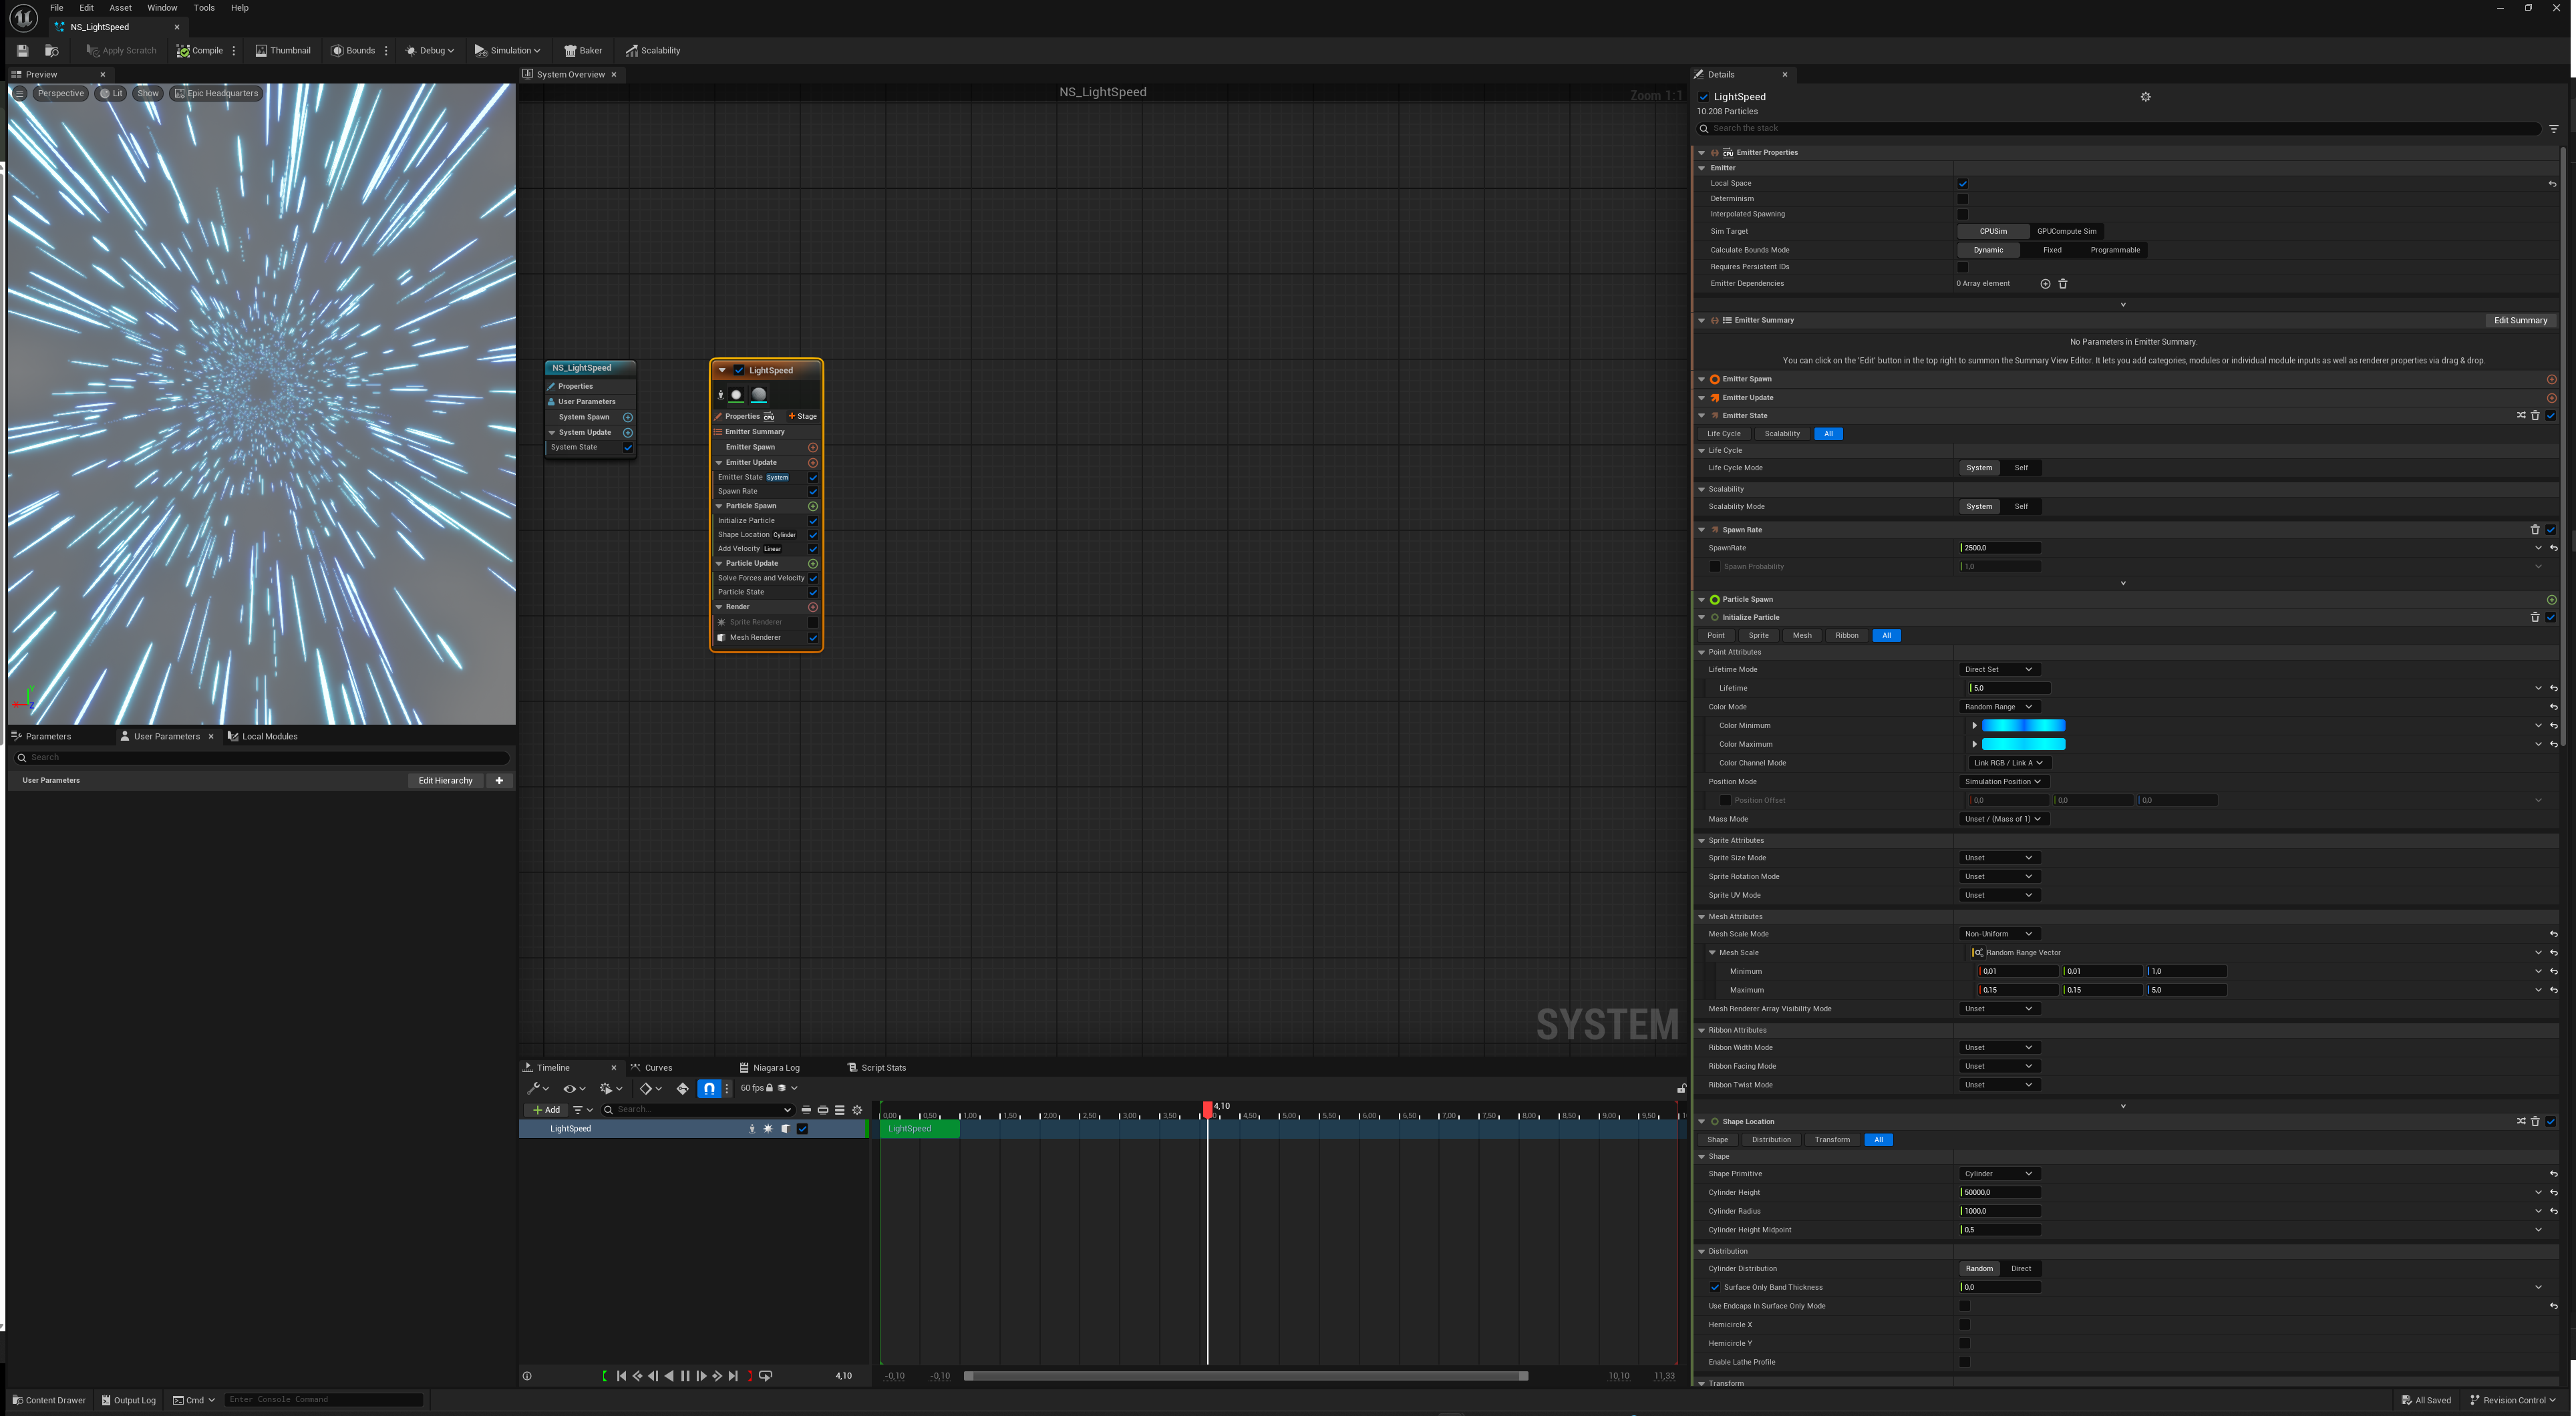
Phase 2: Building the Effect in Niagara (21:40 – 22:30)
🔹 Step 1: Creating the Base Particle System
I started with a Niagara System and added a Cylinder Location module to control the shape of the effect. By adjusting the height and radius, I formed a tunnel-like shape that serves as the lightspeed “pathway.”
🔹 Step 2: Adding Velocity for Motion Blur
To create the sensation of extreme speed, I applied a Linear Velocity module, setting high values along a single axis. This made the particles stretch as they moved outward, forming streaks of light.
🔹 Step 3: Adjusting Particle Lifetime & Scale
- Shorter lifetimes for faster-moving streaks.
- Non-uniform scaling to stretch the particles along the travel direction.
🔹 Step 4: Enhancing with Emissive Materials
Using a simple emissive material with Fresnel effects, I made sure the streaks glowed dynamically, simulating energy buildup during the warp.
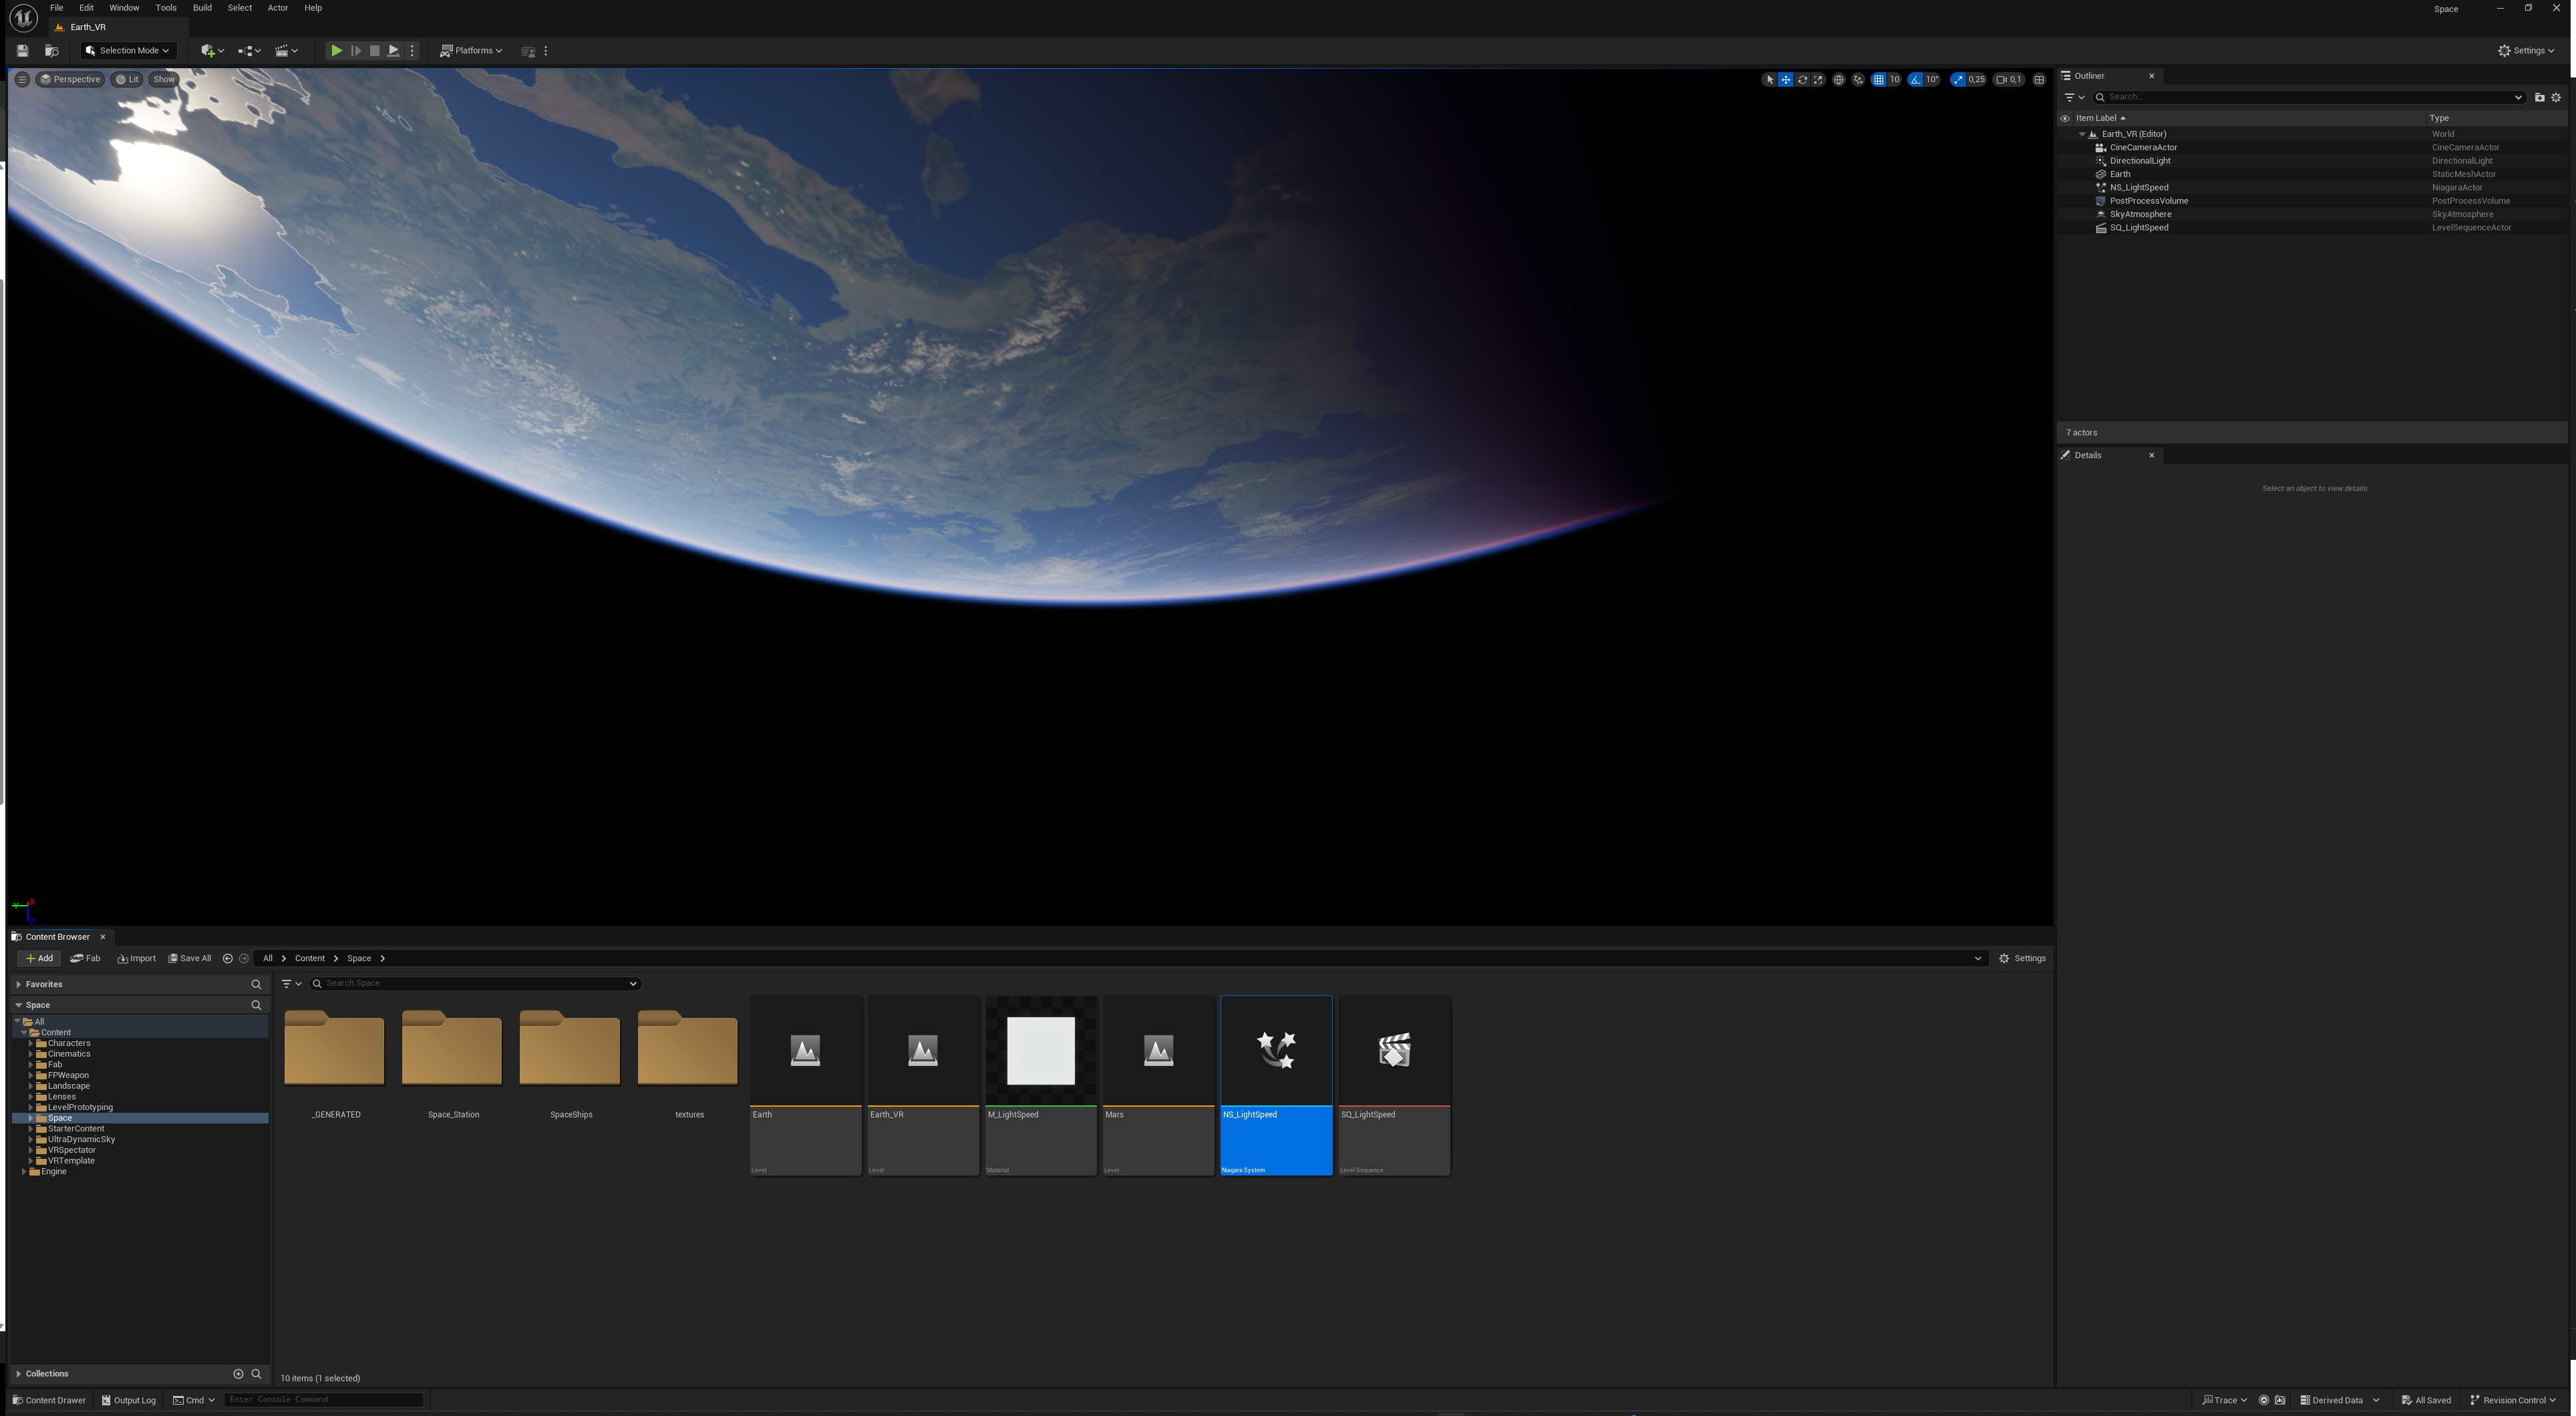
Phase 3: Final Adjustments & Rendering (22:30 – 23:00)
With the base effect complete, I fine-tuned the following details:
✔ Camera-relative motion – By tweaking emitter settings, I ensured the particles behaved correctly as the camera moved.
✔ Optimized particle count – Balancing performance and visual fidelity for a smooth real-time render.
✔ Post-processing – Adding slight motion blur and glow to enhance the sci-fi aesthetic.
Finally, I rendered the effect and brought it into Premiere Pro for quick color grading and final touches.
Final Thoughts: The Power of Unreal Engine & Niagara
This challenge was a great exercise in rapid prototyping and refining a VFX concept under a time constraint. Unreal Engine 5.5.3 and Niagara make it incredibly fast to iterate on real-time effects, and with just 90 minutes of work, I had a working Lightspeed effect that looked great in motion.
Want to see the result?
🔥 Would you try this challenge? Let me know how you’d approach a lightspeed effect in Unreal Engine! 🚀
#UnrealEngine5 #NiagaraVFX #Lightspeed #FXChallenge #GameDev